Teaching the scientific method with virtual experiments
Most science syllabuses in Africa list the scientific method as a learning outcome. In practice, students often meet it as four words to memorise. Virtual labs make it something they do in every lesson.
The four-step loop
- Question. What do we want to find out? Keep it small and testable.
- Hypothesis. What do we think will happen, and why?
- Test. Change one thing, keep everything else the same, and measure.
- Conclusion. What do the results show? Was the hypothesis right?
A worked example: the Atwood machine
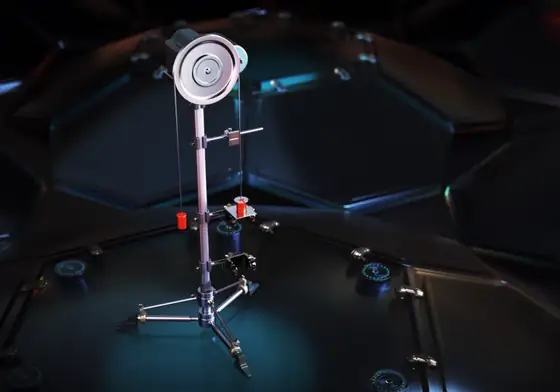
The Atwood machine is two masses on a string over a pulley. Ask: does a bigger difference between the masses make them accelerate faster?
- Students predict yes, and explain why.
- They keep one mass at 1 kg and increase the other from 1.2 kg to 2 kg, timing each run.
- They plot acceleration against the difference in mass.
- They conclude that acceleration grows with the difference, and compare their result with the formula a = (m₂ − m₁)g ÷ (m₁ + m₂).
Why virtual labs help
In a real lab, a single run can take most of a lesson to set up. In the virtual lab, students can repeat a test ten times, which is exactly what good science needs. They can also slow time down to see what happens in a fraction of a second.
Tips for the classroom
- Ask students to write their hypothesis before they touch the equipment.
- Insist on a results table with units.
- Ask "what would you change if you did this again?" at the end of every practical.
- Celebrate a wrong hypothesis that was tested properly. That is real science.
Over a term, this loop becomes a habit. Students start asking testable questions on their own, which is the skill every science curriculum is trying to build.
Try the labs free and use the loop in your next lesson.